Adding an interactive 3D product configurator to your Webflow site is one of the best ways to increase user engagement. Webflow doesn't have a native 3D module, but you can easily bridge the gap using a Custom Embed. In this quick guide, we will walk you through how to embed your configurator iframe code into your Webflow project.
.png)

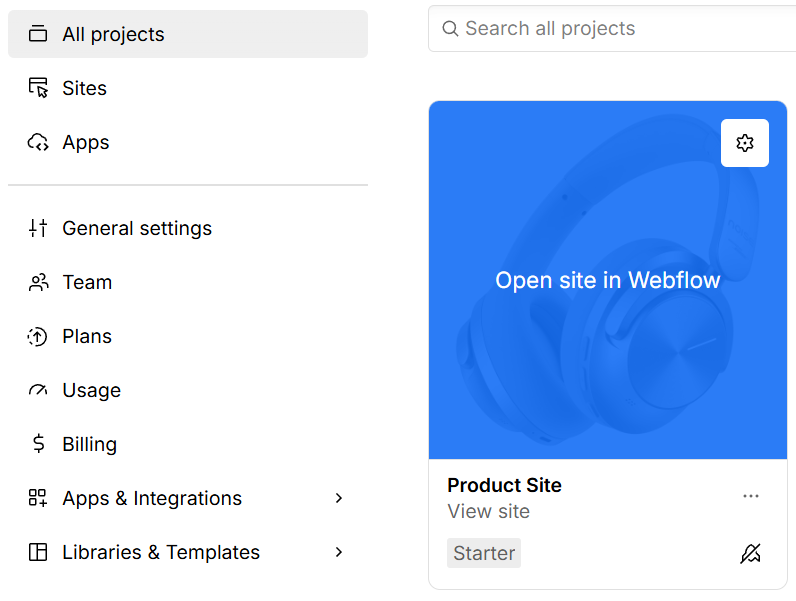
Open your project in the Webflow Designer.
Select your existing site in Webflow to integrate the viewer directly into your page

Add an Embed element
Click the Add Elements icon (+) in the top left panel or press A on your keyboard. Scroll down to the Components section and drag the Embed element onto your page canvas.

Paste the iframe snippet
Start out by putting this iframe code snippet into your Embed element:
<iframe
  src=""
  style="width: 100%; height:100%; border:0"
  allowfullscreen=""
></iframe>
Next, open your 3D configurator setup in the Colormass platform. Click Publish 3D → Copy Configurator URL.
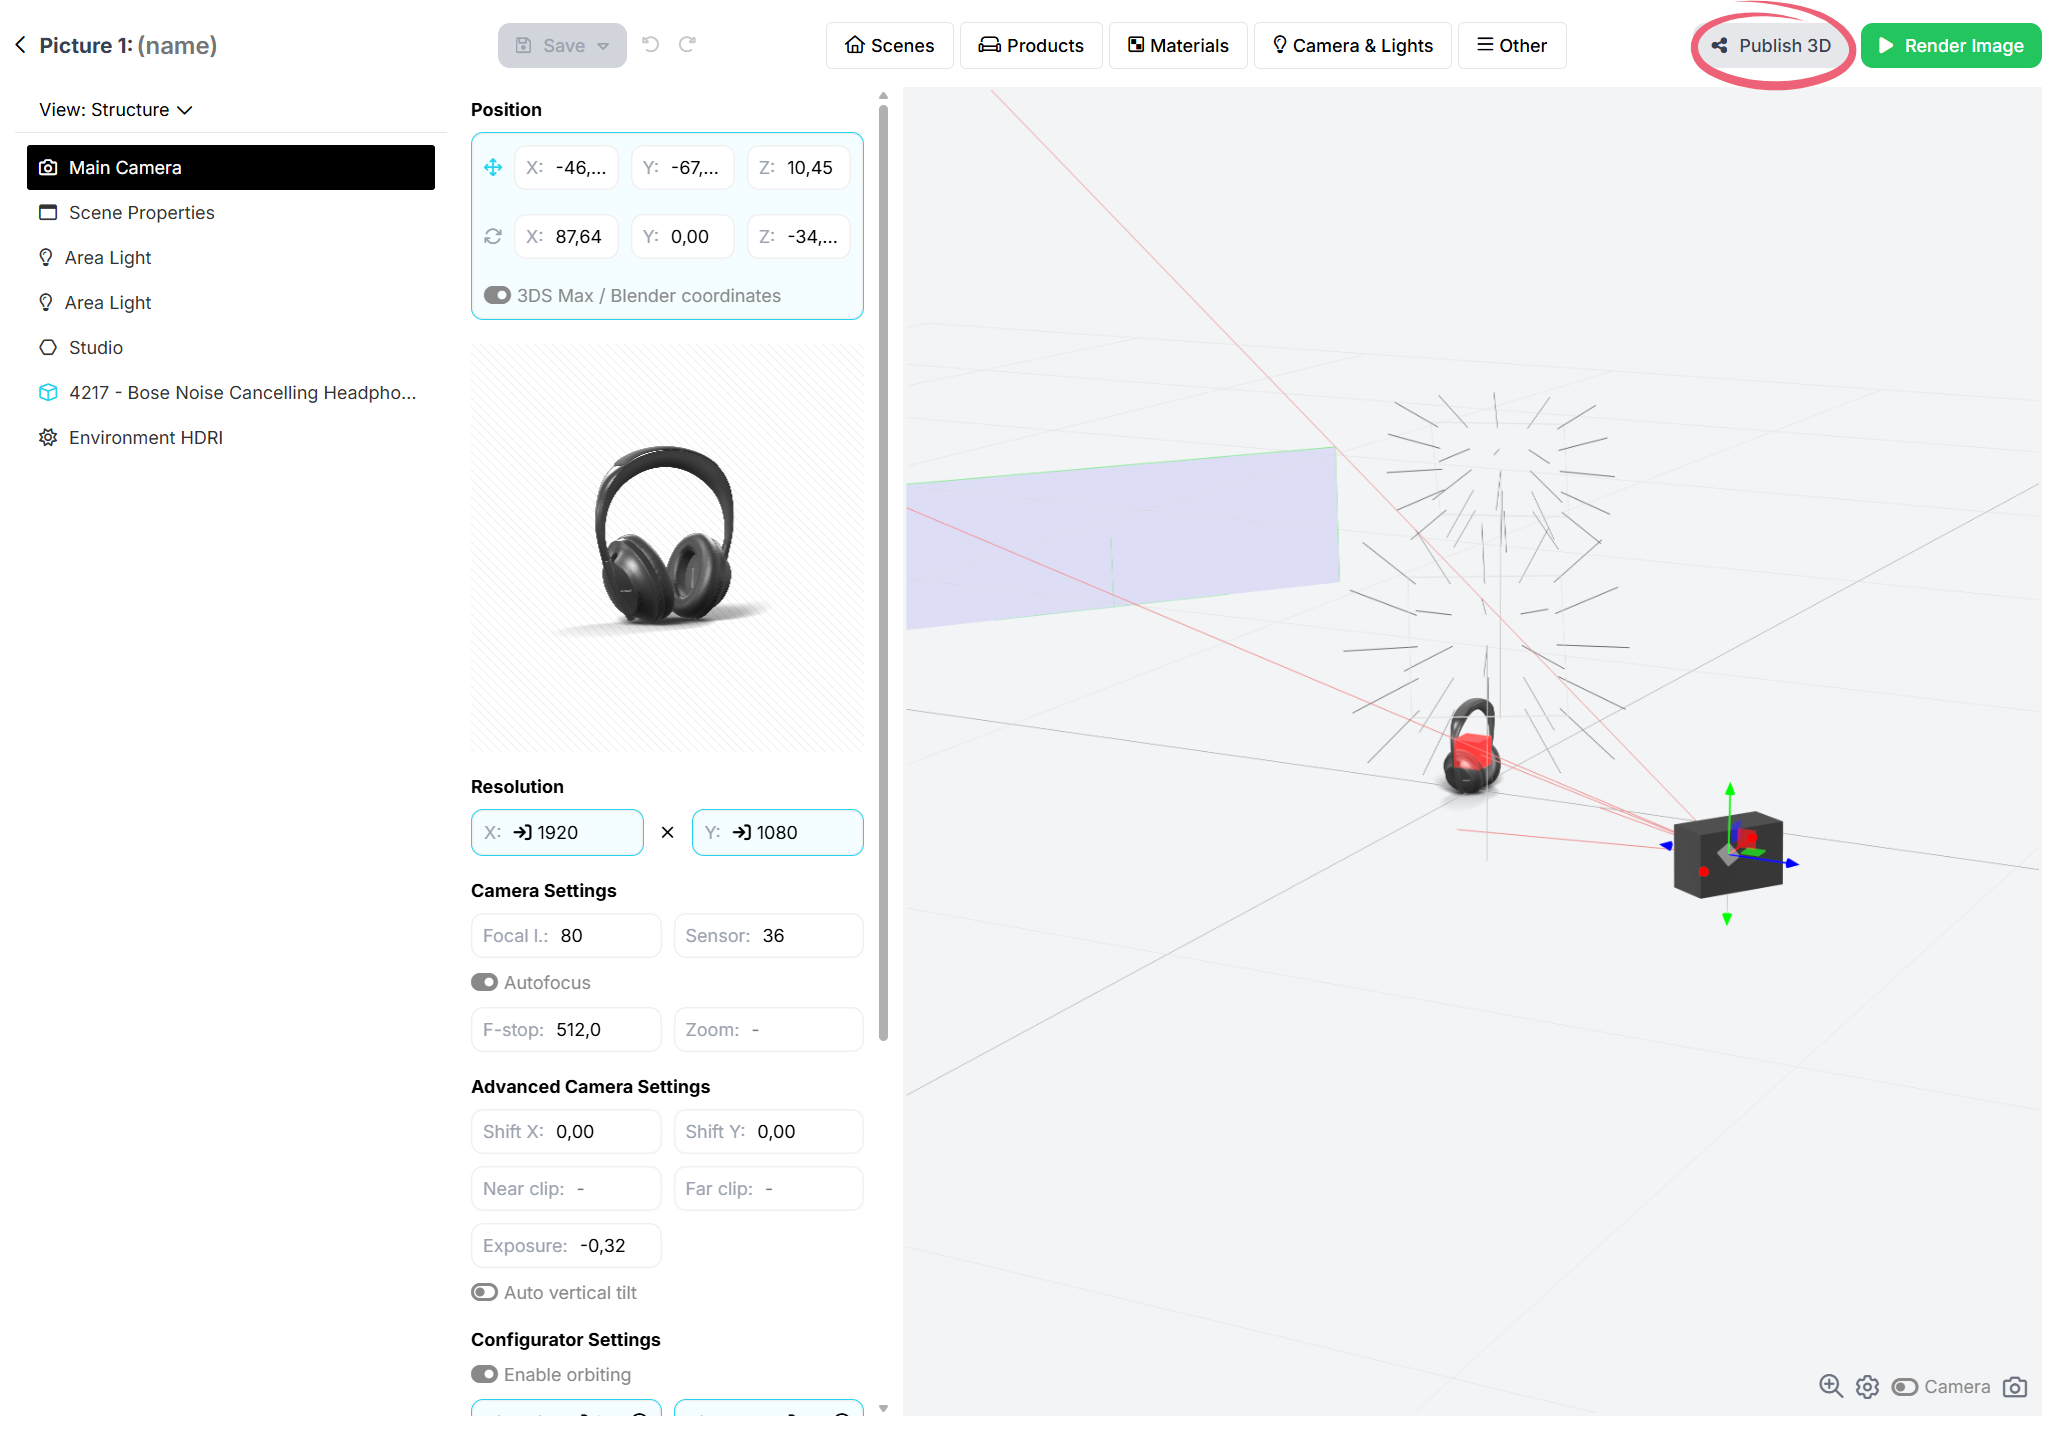
Copy the URL and paste it into the src attribute of the iframe code. Your final code should look something like this:
<iframe
    src="YOUR CONFIGURATOR URL HERE"
    style="width: 100%; height:100%; border:0"
    allowfullscreen=""
></iframe>
See the parts of this 3rd step recorded in the video below.

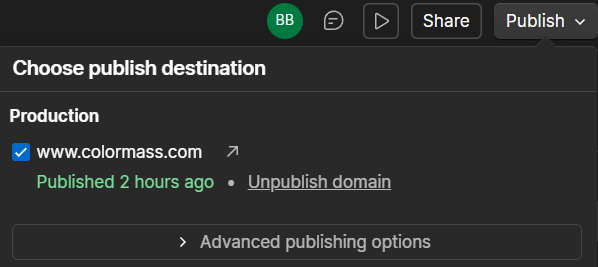
Save and Publish
Once all that is done, all you need to do is to save your changes and then Publish your site.